
High-quality rental listing photos are bright, well-staged wide shots that show every key room, with one clear hero image and full coverage of the property. Get that right and enquiries rise while application quality improves. The photos also need a second life: as dated, consistent condition evidence that protects your position if a tenancy ever ends in dispute at SACAT.
TL;DR:
- High-quality rental photos should include 15–20 images for one- or two-bedroom units and up to 35 for larger homes to ensure full coverage.
- Use a tripod, wide-angle lens, RAW shooting mode, and proper exposure settings like aperture around f/8 to f/16 for sharp, well-lit images.
- Staging involves quick decluttering, opening curtains, turning on lights, and neutral touches to optimize visual appeal in a short timeframe.
- Composition techniques such as shooting from corners, using doorways for flow, and keeping horizons level help make rooms appear more spacious and accurate.
- Photos must exclude tenant personal items, obtain written consent for showing tenant possessions, and include close-ups with scale references for condition records.
Table of Contents
- The rental listing photos shot list you need before you shoot
- What equipment and camera settings actually matter
- Fast staging that makes rooms photograph well
- Room-by-room techniques for sharper, more accurate photos
- Editing rules and upload specs that actually matter
- Privacy, consent, and photos you should never publish
- Documentation photos that hold up in a dispute
- Why presentation standards protect more than your rent price
- Let HOSO Real Estate handle the presentation end to end
- Where to check the official specs and rules
- Sources
The rental listing photos shot list you need before you shoot
Work through this order and you won't miss a room a prospective tenant actually cares about.
- Hero exterior shot – front facade, straight on, no cars or bins in frame.
- Entry and hallway – sets context before the main living spaces.
- Living and dining areas – widest possible angle, multiple shots per room.
- Kitchen – bench space, storage, and appliances included in frame.
- Bathrooms – every one, showing fixtures and tiling condition.
- Bedrooms – shoot from the corner opposite the door for maximum depth.
- Outdoor space, parking, and storage – yard, garage, carport, sheds.
- Street or neighbourhood context – only if it adds genuine appeal.
A one or two-bedroom unit needs 15–20 photos to cover it properly. A standard three or four-bedroom house for marketing typically runs to 25–35 images, a range consistent with industry photography guidance for landlords. Larger or premium homes warrant more, particularly where multiple living zones or outdoor entertaining areas need separate coverage.
What equipment and camera settings actually matter
A recent smartphone with a wide-angle lens handles most standard rentals fine. Reach for a professional photographer once you're marketing a premium property, an architecturally distinct home, or anything where presentation needs to justify a premium rent.
- Use a tripod for interiors. It kills camera shake and keeps horizons level across every shot.
- A wide-angle lens (or your phone's built-in wide setting) captures more of a room without distortion at the edges.
- A remote shutter or self-timer avoids the small blur that handheld shots introduce in low light.
- Shoot in RAW where your camera allows it. It gives you far more room to correct exposure later without artefacts.
For exposure, interior photography guidance for landlords recommends an aperture around f/8 to f/16 and ISO 100 to 400 for sharp, evenly lit rooms.
Pro Tip: If a room has a bright window and a dim interior, take three exposures at different settings and blend them later. It's the fastest way to avoid a blown-out window or a black hole where the view should be.
Fast staging that makes rooms photograph well
Staging doesn't need a budget or a stylist; following a best rental inspection cleaning checklist ensures the property is spotless and photograph-ready. It needs ten minutes of discipline before the camera comes out.
- Clear benchtops, bathroom vanities, and floors of everyday clutter.
- Open every curtain and blind, and switch on all internal lights, even during the day.
- Open internal doors to create sightlines through the home.
- Add one or two neutral touches, a folded towel, a simple vase, nothing personal or busy.
- If the property is occupied, shoot early morning before daily life resets the space.
- For a vacant property, virtual staging is a genuinely useful shortcut, letting you show furnished potential without buying furniture, an approach backed by property photography preparation guidance.
Timing matters as much as tidying. A room styled perfectly at 2pm on an overcast day will often outperform the same room shot in harsh midday sun with blown-out highlights near the windows.
Room-by-room techniques for sharper, more accurate photos
Composition decides whether a room looks spacious or cramped, regardless of how good the space actually is.
- Shoot from corners, not centres. A diagonal angle from a room's corner shows depth that a straight-on shot flattens out.
- Use doorways for context. A shot taken from one room into the next helps buyers understand flow, not just individual rooms.
- Keep horizons dead straight. Turn on your camera's grid lines and check every horizontal edge, benchtops, skirting boards, window sills, against them.
- Reduce reflections in bathrooms and kitchens. Shoot at a slight angle to glossy tiles and mirrors, and turn off any light that creates a hard glare.
- Match light to the shot. Exteriors generally look their best in golden hour, the hour after sunrise or before sunset, when facades pick up warm, flattering light. Interiors are usually more consistent on overcast days, since cloud cover diffuses sunlight and stops windows from blowing out, a distinction confirmed in property photography preparation checklists.
Pro Tip: Stand slightly lower than eye height when shooting bedrooms and living areas. It exaggerates ceiling height and makes the room read as more generous than a shot taken from standing height.
Editing rules and upload specs that actually matter
Editing should correct light, not rewrite the property. Fix exposure, straighten horizons, and crop to remove distractions. Never alter layout, remove permanent fixtures, or stretch a room to look bigger than it is, that crosses from enhancement into misrepresentation.
- Correct exposure and white balance so colours look true to life.
- Straighten any tilted horizons left over from handheld shots.
- Crop tightly to remove cords, bins, or reflections, not to hide genuine flaws.
- Choose your widest, brightest, most flattering shot as the hero image and place it first.
Platform guidance from realestate.com.au recommends a 4:3 aspect ratio, with 2000 x 1500 pixels preferred and 1600 x 1200 as a practical minimum for every uploaded image.
Order your gallery to match how buyers actually browse: hero exterior, then kitchen, living, and bathroom early in the sequence, since platform data shows these are the rooms tenants check first.
Privacy, consent, and photos you should never publish
Anything identifying a current tenant, their belongings, or their address needs a second look before it goes anywhere near a listing.
- Never photograph a tenant's personal items, mail, medication, or anything that identifies who lives there now.
- Get written permission before using any photo that shows a tenant's possessions, as tenancy authority guidance requires.
- Treat photos as personal information: store them securely and don't keep them longer than needed.
- For any commercial photography shoot, written consent or a location release protects you if usage rights are ever questioned.
Documentation photos that hold up in a dispute
Marketing photos and condition photos serve different purposes and should never be treated as the same shoot.
- Separate the two workflows entirely. Marketing photos sell the space; documentation photos record its exact condition at a point in time.
- Shoot from consistent, repeatable positions in each room so a move-in photo and a move-out photo of the same corner can be compared directly.
- Include close-ups with a scale reference, a coin or ruler next to any mark, stain, or damage, so its size is beyond dispute later.
- Use a visible timestamp or reliable EXIF data, since metadata is often stripped when photos are shared or messaged.
- Back up originals the same day, before they can be lost, overwritten, or edited.
Our guide to property condition report best practices covers how to structure this record-keeping so it stands up if a tenancy ever ends in disagreement.
Why presentation standards protect more than your rent price
Well-presented listings don't just rent faster, they filter for tenants who take the property seriously from day one. We see this pattern across our recently leased Adelaide properties: the sharpest listings consistently draw the strongest applications, not just the most of them.
Our own writing on examples of well-maintained rental properties makes the same point from a different angle. Presentation is a signal, and tenants read it accurately.
— HOSO
Let HOSO Real Estate handle the presentation end to end
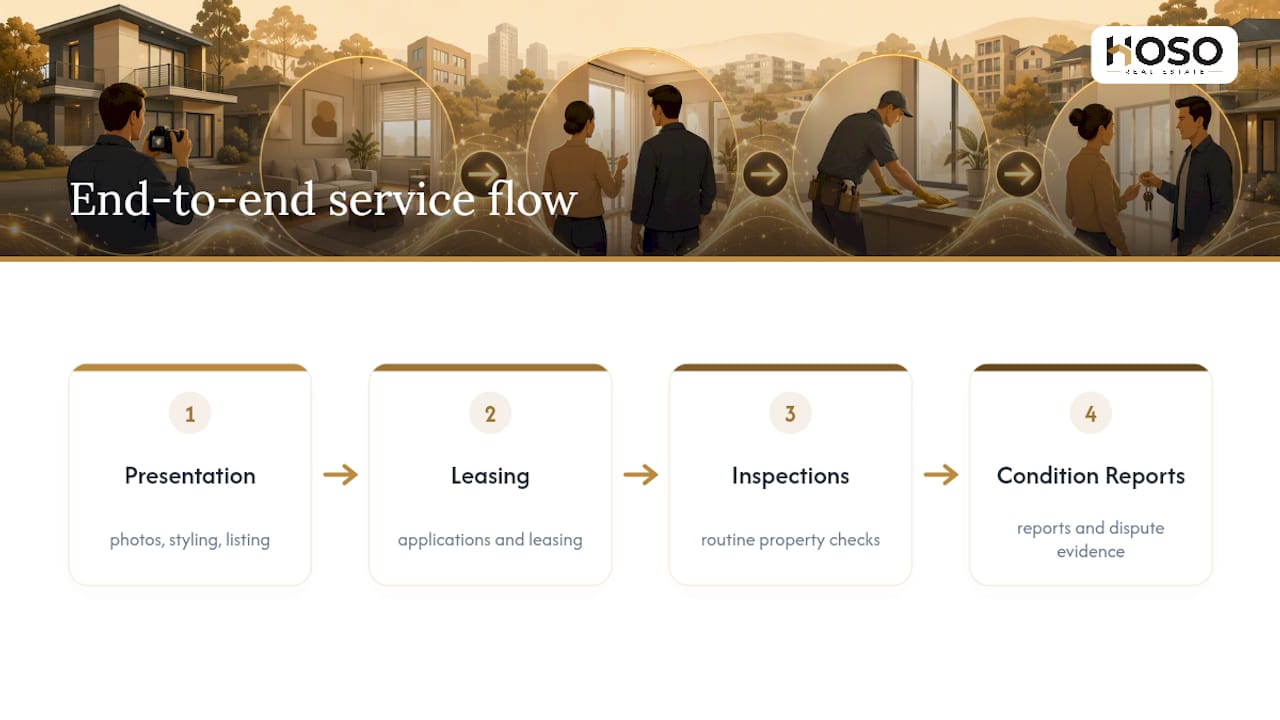
Getting rental listing photos right is one job among many when you're managing a property yourself, on top of screening applicants, coordinating trades, and keeping compliance records current. HOSO Real Estate is the alternative to handling all of that solo: our team coordinates the photography, styling, and listing sequence for Adelaide landlords, then carries straight through into leasing, inspections, and condition reporting under one roof. That means your photos, your applications, and your dispute evidence all sit in the same system instead of scattered across your phone and email. If your property is sitting longer than it should, or you're preparing to lease and want it presented properly from the first photo, explore our property management and leasing services and get a clear next step for your portfolio.
Where to check the official specs and rules
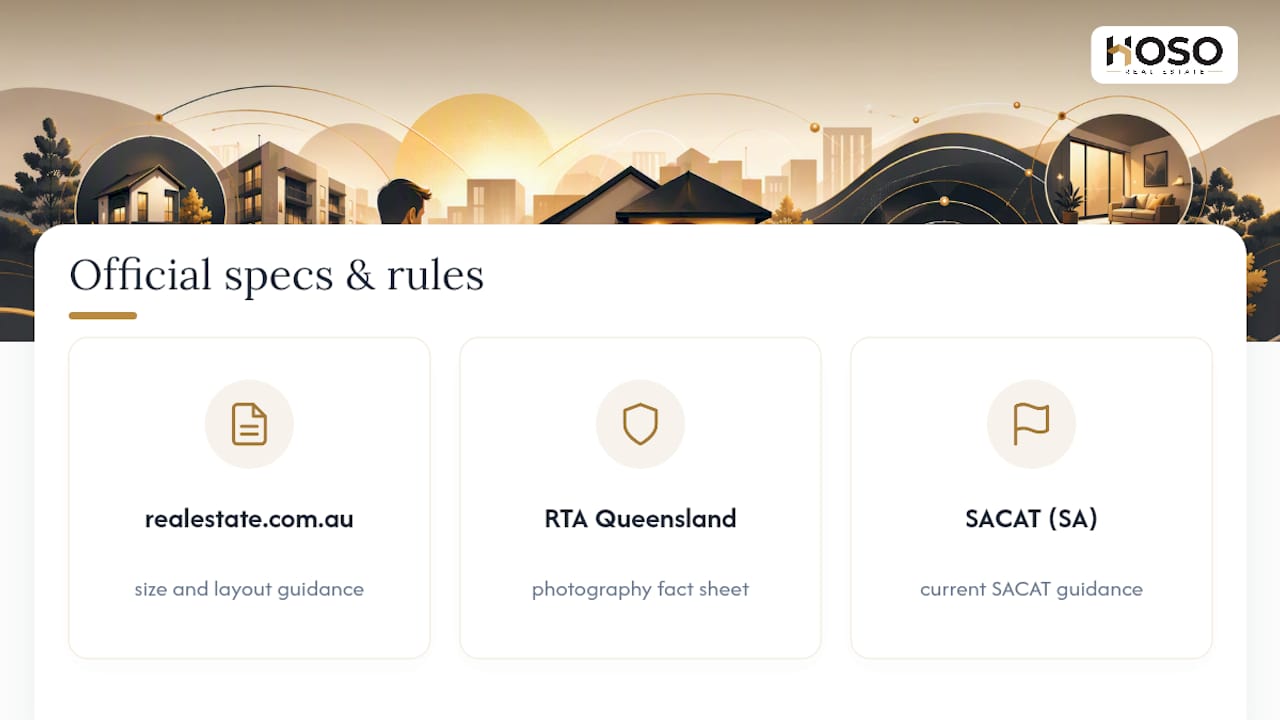
For the platform's own size and layout guidance, see realestate.com.au's rent listing recommendations. For tenant privacy and consent rules, see the RTA Queensland photography fact sheet, and always check current SACAT guidance for South Australian tenancies.
Sources
- Taking photos in a rental property fact sheet – RTA Queensland
- How to photograph investment property for landlords — Uploadit
- Filming on private property – Sprintlaw